

How to Clean a Chicken Coop: UK Guide
Short Answer
Clean a chicken coop by moving hens safely, removing litter and manure, dry-scraping surfaces, washing with a poultry-appropriate product where needed, rinsing as instructed and allowing everything to dry before adding fresh bedding. Wear suitable protection and avoid creating airborne dust.
Key Takeaways
- Prioritise dry shelter, ventilation, hygiene, security and enough usable space.
- UK rainfall, wind, drainage and predator pressure should shape the setup.
- Inspect the flock and housing daily for changes in health, behaviour or damage.
- Avoid dusty, damp, sharp, toxic or difficult-to-clean materials.
- Check current local rules and seek veterinary advice for illness or welfare concerns.
Quick Decision Checklist
| Check | What good looks like |
|---|---|
| Dryness | No persistent leaks, pooling water or damp bedding |
| Ventilation | Fresh air above bird level without a direct draught |
| Security | No gaps, weak latches or exposed digging edges |
| Hygiene | Surfaces and fittings can be inspected and cleaned |
| Flock behaviour | Birds can feed, drink, rest and move without crowding |
Why Cleaning Your Chicken Coop Matters
Before we get into the how, it helps to understand the why. A dirty coop creates a chain reaction of problems. Wet, soiled bedding produces ammonia, which irritates chickens' respiratory tracts. It also creates ideal conditions for parasites - particularly red mites, which hide in cracks during the day and feed on birds at night. Flies, rodents, and bacterial infections like Marek's disease and coccidiosis also thrive in neglected coops.
None of this is inevitable. A consistent cleaning routine keeps your birds healthier, your egg quality higher, and your coop smelling far more tolerable.
What You Will Need
Before you start any cleaning session, gather your supplies:
- Stiff-bristled scrubbing brush and smaller detail brush
- Plastic or metal scraper for dried waste
- Wheelbarrow or bin bags for soiled bedding
- Bucket and warm water
- Pet-safe disinfectant (such as Virkon S or Poultry Shield - widely available in the UK)
- Protective gloves and a dust mask
- Fresh bedding (straw, wood shavings, or chopped cardboard)
- A hosepipe or pressure washer for deep cleans
Daily Cleaning: 5 to 10 Minutes
Daily maintenance is quick but genuinely important. Make it part of your morning routine when you let the birds out.
Remove droppings from the droppings board. If your coop has a dropping board beneath the roosting bars (and it should), scrape it clean every morning. This single task does more than almost anything else to control ammonia and reduce the overall bacterial load inside the coop.
Top up bedding in nest boxes. Remove any visibly soiled or damp nesting material and replace it. Chickens tend to soil nest boxes less than the floor, but keeping them clean encourages hens to use them properly and helps keep eggs cleaner.
Check feeders and drinkers. Empty, rinse, and refill water containers daily. In wet UK weather, drinkers can quickly become contaminated with mud and droppings.
Look for anything unusual. Damp patches, broken fixtures, or signs of pests are much easier to deal with if caught early.
Weekly Cleaning: 30 to 45 Minutes
Once a week, do a more thorough tidy-up.
Remove and replace all floor bedding. Rake out the floor covering completely and replace it with fresh material. Even if it looks acceptable on the surface, the lower layers are often damp and beginning to decompose.
Wipe down surfaces. Use a damp cloth or brush to wipe down the interior walls, roosting bars, and nest box surfaces. A mild disinfectant solution at this stage is worthwhile, particularly in warmer months when bacteria multiply more quickly.
Check for red mites. Run a white piece of paper along the joins and crevices in the coop, especially around roosting bars. If you see tiny moving red or grey specks, you have a mite problem that needs addressing. This is worth reading about in more detail - our guide on how to get rid of red mites covers treatment options thoroughly.
Inspect for structural issues. Check hinges, latches, and any gaps that may have appeared in the flooring or walls. Gaps invite drafts and give rats a way in. If you're dealing with rodents, our guide on keeping rats away from your chicken coop has specific advice for UK conditions.
Monthly Check-In: Assess Ventilation and Wear
Every month or so, spend a few extra minutes assessing the coop beyond the basic clean.
Ventilation check. Proper airflow is critical - it prevents moisture build-up, which is the root cause of most coop-health problems. Check that ventilation points are clear and unblocked. In UK winters, there is a temptation to block up drafts to keep birds warm. The distinction between a draft (cold air blowing directly onto birds) and ventilation (air circulation above head height) matters here. Ventilation should stay open all year; drafts at bird level should be sealed.
Bedding depth. Check that floor bedding is at least 5-10 cm deep. Thin bedding doesn't insulate properly and gets saturated faster.
Pest-proofing. Look for signs of tunnelling around the base of the run, and check any wire mesh for rust or holes.
Deep Cleaning: Every 1 to 3 Months
A deep clean is a full reset. It takes a couple of hours but makes a real difference, especially heading into autumn and spring when parasite pressure tends to change.
Step 1 - Empty the Coop Completely
Remove all birds from the coop and run. Move all feeders, drinkers, and any accessories outside. Strip out every scrap of bedding and dispose of it in your compost heap or green waste bin. Composted chicken manure is excellent for gardens once fully broken down, but raw manure should not go directly onto growing vegetables.
Step 2 - Dry Scrape All Surfaces
Using your scraper and stiff brush, remove all dried droppings from every surface - floors, walls, roosting bars, nest box interiors, and the dropping board. Pay particular attention to corners, joins, and any crevices where mites can hide. Mites are killed by a thorough scrub, but only if you physically remove the debris they shelter in.
Step 3 - Wash Everything Down
Use a hosepipe or pressure washer to wash all surfaces thoroughly. Hot water works better than cold if you have access to it. Allow water to reach all the areas you scraped, and rinse from top to bottom so dirty water doesn't re-contaminate areas you've already cleaned.
Step 4 - Apply Disinfectant
Once the surfaces are wet-clean, apply your chosen disinfectant according to the product instructions. Products like Virkon S or Dettol Farm Disinfectant are commonly used in the UK for poultry coops. Apply to all interior surfaces including the underside of the roof if accessible. Leave it to work for the recommended contact time - do not rush this step.
For red mite prevention specifically, a product like Poultry Shield can be applied into all the cracks and joints. Some keepers also use diatomaceous earth as a dry treatment after the coop has dried.
Step 5 - Dry the Coop Thoroughly
This is the step most people rush - and it is the one that matters most. A coop that is re-bedded while still damp will become problematic again within days. If weather allows, leave the coop open in fresh air and sunlight for several hours. Sunlight has natural antibacterial properties and will help dry and sanitise the surfaces. On overcast UK days, a fan or even a hairdryer can help with stubborn damp corners.
Step 6 - Re-bed and Return Birds
Once the coop is fully dry, lay fresh bedding on the floor (minimum 5-10 cm), fill the nest boxes, and return all fixtures. Then let your birds back in.
Choosing a Coop That Makes Cleaning Easier
One thing experienced keepers know is that coop design has a huge impact on how much effort cleaning takes. Coops with removable droppings boards, pull-out trays, wide access doors, and smooth interior surfaces are far more practical to maintain than small, awkwardly built structures.
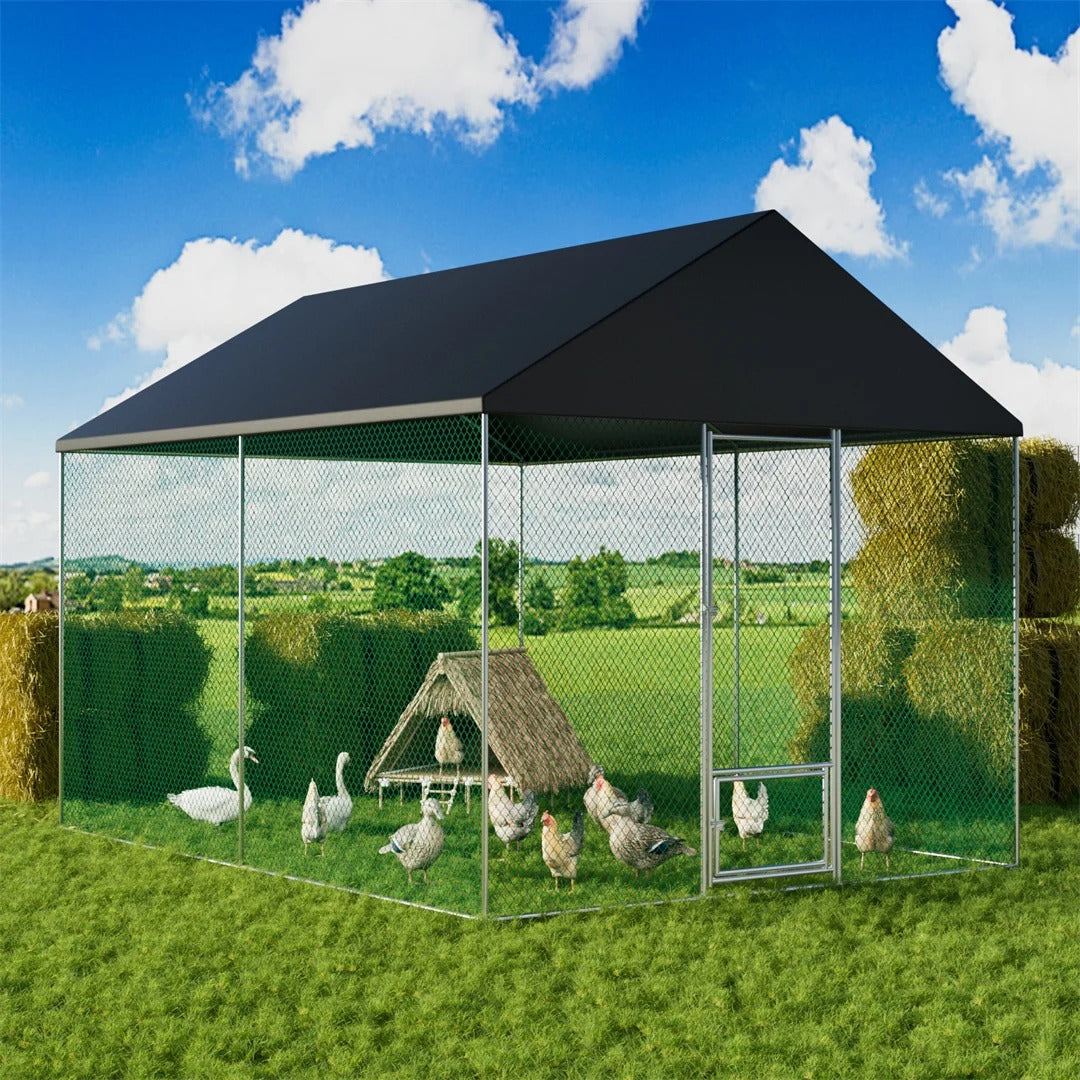
If you're looking to upgrade or buy a first coop, our chicken coop collection includes options designed with practicality in mind, including the outdoor extra tall chicken coop pen designed specifically for UK gardens and allotments - with enough height to make cleaning without stooping far less of a chore - and the large outdoor metal chicken coop with walk-in run, which suits anyone keeping a larger flock of hens, ducks, or geese.
If you're still in the planning stages and want more detail on what to include and how to set up your space, our guide on what a chicken coop needs is worth reading before you commit to a design.
A Note on Seasonal Adjustments
UK weather creates some specific challenges. Wet winters mean bedding gets damp faster and mould can be a problem if ventilation isn't adequate. Hot dry summers - when they happen - increase red mite activity dramatically and speed up bacterial growth.
In winter, increase the frequency of your bedding changes and check moisture levels more carefully. In summer, check for mites weekly rather than fortnightly, and consider applying diatomaceous earth or a mite treatment more regularly as a preventive measure.

Final Thoughts
Cleaning a chicken coop well isn't complicated, but it does require consistency. A few minutes every day, a more thorough session each week, and a proper deep clean every month or two will keep your birds healthy and your coop in good condition for years.
Final Verdict
Clean a chicken coop by moving hens safely, removing litter and manure, dry-scraping surfaces, washing with a poultry-appropriate product where needed, rinsing as instructed and allowing everything to dry before adding fresh bedding. Wear suitable protection and avoid creating airborne dust.
FAQ
Why Cleaning Your Chicken Coop Matters?
Before we get into the how, it helps to understand the why. A dirty coop creates a chain reaction of problems. Wet, soiled bedding produces ammonia, which irritates chickens' respiratory tracts. It also creates ideal conditions for parasites - particularly red mites , which hide in cracks during the day and feed on birds at night. Flies, rodents, and…
What You Will Need?
Before you start any cleaning session, gather your supplies:
What should you know about daily cleaning: 5 to 10 minutes?
Daily maintenance is quick but genuinely important. Make it part of your morning routine when you let the birds out.
What should you know about weekly cleaning: 30 to 45 minutes?
Once a week, do a more thorough tidy-up.
What should you know about monthly check-in: assess ventilation and wear?
Every month or so, spend a few extra minutes assessing the coop beyond the basic clean.
What should you know about deep cleaning: every 1 to 3 months?
A deep clean is a full reset. It takes a couple of hours but makes a real difference, especially heading into autumn and spring when parasite pressure tends to change.