

How to Crate Train a Puppy Without Distress
Short Answer
Crate train a puppy without avoidable distress by securing the door open, rewarding voluntary exploration and increasing closure, distance and duration separately. Meet frequent toilet needs and respond to crying by checking the cause; do not use punishment or a fixed cry-it-out period.
Key Takeaways
- Use crates and kennels as welfare-led management tools, never as punishment.
- Fit, ventilation, temperature, mobility and the dog’s behaviour matter more than product labels.
- Reward voluntary use and reduce difficulty at the first sign of distress.
- Normal access to water, toileting, movement, exercise and social contact must continue.
- Panic, sudden behaviour change or physical discomfort warrants veterinary or qualified behaviour support.
Quick Decision Checklist
| Check | What to look for |
|---|---|
| Purpose | A clear welfare-led use rather than punishment or convenience |
| Fit and setup | Enough room, safe materials, ventilation and a stable location |
| Behaviour | Loose body language, voluntary approach and normal eating |
| Daily needs | Water, toileting, movement, rest and social contact remain available |
| Warning signs | Pain, panic, repeated escape attempts or sudden behaviour change |
Why Crate Training Is Worth the Effort
Before getting into the process, it is worth understanding what crate training actually achieves, because this shapes how you approach it.
Dogs are den animals by instinct. In the wild, a confined, sheltered space represents safety. A well-introduced crate taps into this instinct, providing a puppy with a space that is theirs, predictable, and separate from the busier parts of the home. This is genuinely calming for many dogs, particularly in the early weeks of being in a new environment.
From a practical standpoint, crate training supports toilet training. Puppies naturally avoid soiling the area they sleep in, which means a correctly sized crate encourages them to hold until they are taken outside. It also provides a safe space during periods when a puppy cannot be supervised, reducing the risk of dangerous chewing or household damage.
Done well, a crate becomes a resource the dog uses voluntarily throughout their life, not just in puppyhood. Many crate-trained adult dogs choose to sleep in their crates long after the door is no longer closed. That outcome is the goal.
Choosing the Right Crate for a Puppy
The crate itself matters. The wrong size or type can undermine the training process before it begins.
Size. A puppy's crate should be large enough for them to stand, turn around, and lie down comfortably, but not significantly larger than that during the training phase. A crate that is too large can defeat the toilet training benefit, as the puppy may use one end as a sleeping area and the other as a toilet. Many crates designed for puppies include a divider panel, which allows you to start with a smaller internal space and expand it as the puppy grows.
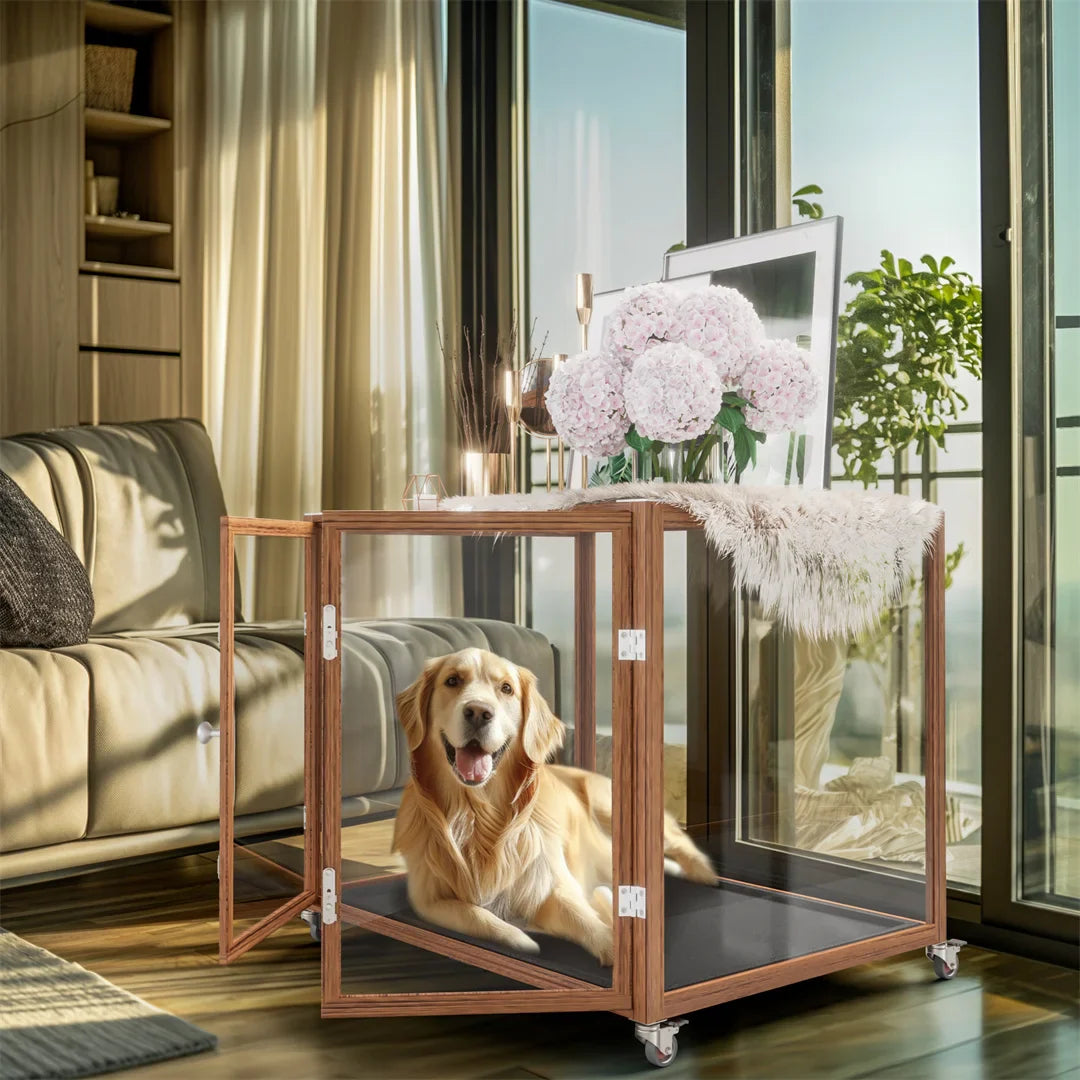
Type. Wire crates are popular for puppies because they provide good visibility and airflow. Fabric-sided crates are less suitable for puppies who are likely to chew. Wooden furniture-style crates are better suited to fully trained dogs rather than puppies in the active training phase, as they are harder to clean and less forgiving of accidents.
Placement. During the day, a crate placed in a room where the family spends time is preferable to an isolated corner. A puppy that can see and hear their household from the crate is less likely to feel isolated. At night, placing the crate in or near the bedroom is often recommended during the early weeks, as proximity to their owner reduces the distress of being in a new home.
Step-by-Step: Introducing the Crate Without Stress
The most common mistake in crate training is moving too quickly. A puppy pushed into a closed crate before they have had time to explore and feel comfortable in it is likely to panic, vocalise, and develop a negative association that takes considerably longer to undo.
Step 1: Introduce the Crate as a Piece of the Environment
Set the crate up before you plan to use it. Leave the door open and let the puppy investigate at their own pace. Place comfortable bedding inside, along with a few treats or a small piece of your clothing. The goal at this stage is simply for the crate to exist as a neutral, interesting feature of the room rather than something that only appears when something unpleasant is about to happen.
Step 2: Encourage Voluntary Entry
Rather than placing the puppy in the crate, encourage them to go in themselves. Toss treats inside, feed meals near and eventually inside the crate, or place a favourite toy at the entrance. Reward any interest in the crate calmly. This phase may take a day or two, or it may take longer. Do not rush it.
Step 3: Begin Short Closures
Once the puppy is comfortable entering the crate voluntarily, begin closing the door for very short periods, starting with just a minute or two while you remain visible and calm. Give a treat or chew to occupy the puppy while the door is closed. Open the door before the puppy becomes distressed, not in response to distress. This distinction is important: if you open the door because the puppy whines, you teach them that whining opens the door.
Increase the duration of closed periods gradually over several days. Always end a crate session before the puppy reaches the point of significant distress.
Step 4: Build Duration and Distance
As the puppy becomes more comfortable, increase both the time the door is closed and your distance from the crate. Begin leaving the room for brief periods. Return calmly, without making arrivals a dramatic event. The goal is for crate time to feel unremarkable rather than significant.
Step 5: Overnight Crating
The first few nights in a crate are often the most challenging. Puppies are used to sleeping with their mother and littermates, and being alone in a crate in a new home is a significant adjustment. Placing the crate near your bed during these early nights allows your presence to be felt without the puppy needing to be held or on the bed.
Expect some whining overnight in the first week. If a puppy has been toileted immediately before bed and wakes during the night, they may need a toilet trip. Take them out calmly and without stimulating play, then return them to the crate. Over time, overnight crying typically reduces as the puppy adjusts and their bladder capacity increases.
Our article on nighttime crate settling and getting through the first weeks without sleepless nights covers the overnight phase in more detail and offers practical guidance on managing those first few difficult nights.
How to Handle Whining in the Crate
Whining during crate training is almost universal, and it is the point where many owners lose confidence and give up. Understanding why a puppy whines helps owners respond appropriately rather than reactively.
Puppies whine in the crate for several reasons: they need the toilet, they are hungry, they are lonely, or they are simply testing whether making noise produces a response. The appropriate reaction depends on the cause.
If the puppy has been in the crate for long enough that a toilet trip is plausible, take them out calmly, let them toilet outside, and return them to the crate without prolonged engagement.
If the puppy has recently been toileted and the whining starts very shortly after being crated, it is more likely to be protest than need. Waiting for a brief pause in the whining before opening the door teaches the puppy that quiet behaviour, not noise, results in release. This requires patience, but it is an important lesson.
If the whining is persistent and escalating into genuine distress, consider whether the introduction has been too rushed. Going back a step and building confidence more slowly is always preferable to pushing through distress.
Avoid returning to the crate to reassure a whining puppy repeatedly, as this can reinforce the pattern. Brief, calm check-ins are preferable to extended engagement.
Our guide on what to do when a dog won't stop crying in the crate addresses the more persistent cases in detail, including when crying is likely behavioural and when it may indicate a more significant issue.
Making the Crate Comfortable
The inside of a crate should be genuinely appealing. A bare wire floor is not comfortable. A puppy that is uncomfortable in their crate will naturally resist being in it.
Soft, washable bedding suited to the size of the puppy is the starting point. For puppies that chew, a flat mat-style bed that cannot be easily shredded is a more practical choice than a plush bed. As the puppy matures and destructive chewing reduces, more comfortable bedding options become appropriate.
An item of clothing with your scent can help younger puppies feel less alone in the crate. Some owners find that low background audio, such as a radio left on quietly, helps reduce the contrast between the noise of the household and the quiet of the crate during the night.
Our orthopedic dog bed with soft sponge foam base and washable cover is well suited to crate use, with a removable cover that can be washed after accidents and a foam base that provides consistent support. It is available in multiple sizes and can be used inside a crate or as a standalone bed as your dog's needs evolve.
How Long Can a Puppy Be in a Crate?
This is one of the most important practical limits to understand. Puppies have significantly less bladder control than adult dogs, and expecting a young puppy to remain in a crate for extended periods during the day is both unfair and likely to lead to accidents that undermine toilet training.
As a general guide:
- Puppies under 10 weeks: up to one hour at a time during the day, with close supervision and frequent toilet breaks outside those periods.
- 10 to 12 weeks: up to one to two hours maximum during the day.
- 3 to 6 months: up to three hours during the day, increasing gradually as bladder capacity develops.
These are approximate figures. Individual puppies vary, and any puppy that appears distressed should be given a break. Overnight periods are different: most puppies can manage longer stretches overnight as they sleep for more sustained periods, but they should still be given the opportunity to toilet last thing at night and first thing in the morning.
Our article on how long dogs can reasonably spend in a crate at different life stages covers the guidance for puppies through to adult dogs in full, and is worth reading alongside this guide to understand the full picture.
Common Mistakes That Slow the Process
Knowing what not to do is as useful as knowing what to do. The following mistakes are among the most common that slow crate training progress:
Using the crate as punishment. If a puppy is sent to the crate when they have done something wrong, the crate becomes associated with negative experiences. It should be a neutral to positive space at all times.
Inconsistency across household members. If one person consistently lets the puppy out when it whines and another holds firm, the puppy receives mixed messages and takes longer to settle into a pattern.
Progressing too quickly. Shutting the door for long periods before a puppy is comfortable with short periods is the single most common cause of crate rejection. The introduction phase cannot be skipped.
Covering up the crate too early. Some owners cover the crate with a blanket to create a den effect. This can be helpful once a puppy is comfortable in the crate, but covering it before they feel settled can increase rather than reduce anxiety.
Leaving a bored puppy in the crate. A puppy that goes into the crate after sufficient exercise, a meal, and a toilet trip will settle far more easily than one that goes in with unspent energy.
Transitioning From Crate to More Freedom
Crate training is not a permanent state. As your puppy matures, demonstrates reliable toilet training, and shows that they can be trusted to be left unsupervised without destructive behaviour, the crate door can progressively be left open and eventually the crate can become simply one sleeping option among several.
The transition should be gradual rather than abrupt. Giving a puppy the full run of the home before they are ready tends to result in accidents, chewing, and the kind of setbacks that lead owners to feel they have to start the process again. Our guide on moving a puppy from a contained pen or crate to more freedom in the home covers this transition phase in a practical, step-by-step way.
Final Verdict
Crate train a puppy without avoidable distress by securing the door open, rewarding voluntary exploration and increasing closure, distance and duration separately. Meet frequent toilet needs and respond to crying by checking the cause; do not use punishment or a fixed cry-it-out period.
FAQ
Why Crate Training Is Worth the Effort?
Before getting into the process, it is worth understanding what crate training actually achieves, because this shapes how you approach it.
What should you know about choosing the right crate for a puppy?
The crate itself matters. The wrong size or type can undermine the training process before it begins.
What should you know about step-by-step: introducing the crate without stress?
The most common mistake in crate training is moving too quickly. A puppy pushed into a closed crate before they have had time to explore and feel comfortable in it is likely to panic, vocalise, and develop a negative association that takes considerably longer to undo.
What should you know about step 1: introduce the crate as a piece of the environment?
Set the crate up before you plan to use it. Leave the door open and let the puppy investigate at their own pace. Place comfortable bedding inside, along with a few treats or a small piece of your clothing. The goal at this stage is simply for the crate to exist as a neutral, interesting feature of the room rather than something that only appears when…
What should you know about step 2: encourage voluntary entry?
Rather than placing the puppy in the crate, encourage them to go in themselves. Toss treats inside, feed meals near and eventually inside the crate, or place a favourite toy at the entrance. Reward any interest in the crate calmly. This phase may take a day or two, or it may take longer. Do not rush it.
What should you know about step 3: begin short closures?
Once the puppy is comfortable entering the crate voluntarily, begin closing the door for very short periods, starting with just a minute or two while you remain visible and calm. Give a treat or chew to occupy the puppy while the door is closed. Open the door before the puppy becomes distressed, not in response to distress. This distinction is important:…