

How to Winterise a Chicken Coop in the UK
Short Answer
Winterise a chicken coop by keeping it dry, blocking leaks, maintaining high-level ventilation, preventing frozen water and adding clean dry litter—not by sealing every opening. Healthy hens generally cope better with cold than with damp, ammonia and condensation; use heat only with veterinary or specialist advice and fire-safe equipment.
Key Takeaways
- Prioritise dry shelter, ventilation, hygiene, security and enough usable space.
- UK rainfall, wind, drainage and predator pressure should shape the setup.
- Inspect the flock and housing daily for changes in health, behaviour or damage.
- Avoid dusty, damp, sharp, toxic or difficult-to-clean materials.
- Check current local rules and seek veterinary advice for illness or welfare concerns.
Quick Decision Checklist
| Check | What good looks like |
|---|---|
| Dryness | No persistent leaks, pooling water or damp bedding |
| Ventilation | Fresh air above bird level without a direct draught |
| Security | No gaps, weak latches or exposed digging edges |
| Hygiene | Surfaces and fittings can be inspected and cleaned |
| Flock behaviour | Birds can feed, drink, rest and move without crowding |
Do Chickens Actually Feel the Cold?
This is worth addressing upfront because it shapes every decision in this guide. Most common backyard breeds kept in the UK - including Rhode Island Reds, Sussex, Marans, Orpingtons, and Wyandottes - are genuinely cold-hardy. They have evolved to cope with low temperatures, and their feathers provide significant insulation.
What chickens struggle with is not cold temperatures in isolation, but a combination of damp and cold together. A wet coop in winter is far more harmful to birds than a dry coop at the same or lower temperature. This means winterising is not primarily about adding heat; it is about managing moisture, draughts, and the general condition of the coop environment.
The exception to this is very young birds (pullets under about 16 weeks who have not yet fully feathered), very elderly birds, and certain ornamental breeds with large single combs or minimal feathering, which may need additional attention in particularly harsh conditions.
Step 1 - Carry Out a Thorough Pre-Winter Inspection
Before temperatures drop, walk around your coop and run with fresh eyes and look for anything that needs fixing.
Check for gaps and cracks. Small gaps in the coop walls that are tolerable in summer become draughty entry points in winter. Cold air blowing directly onto roosting birds at night is one of the main causes of stress and illness in winter flocks. Seal any gaps in the structure using exterior-grade filler, offcuts of timber, or draught-excluding tape, depending on the size and location.
Inspect the roof for leaks. A leaking roof creates exactly the damp conditions that cause problems in winter. Check the roof covering, flashings around any fixtures, and the condition of the overhang. Any soft or discoloured patches on a wooden roof indicate rot that needs addressing before it worsens.
Test all latches, hinges, and doors. Cold weather makes wood swell and metal contract, which means latches that worked fine in summer sometimes stick or fail in winter. Check each one and lubricate hinges with a weather-resistant oil.
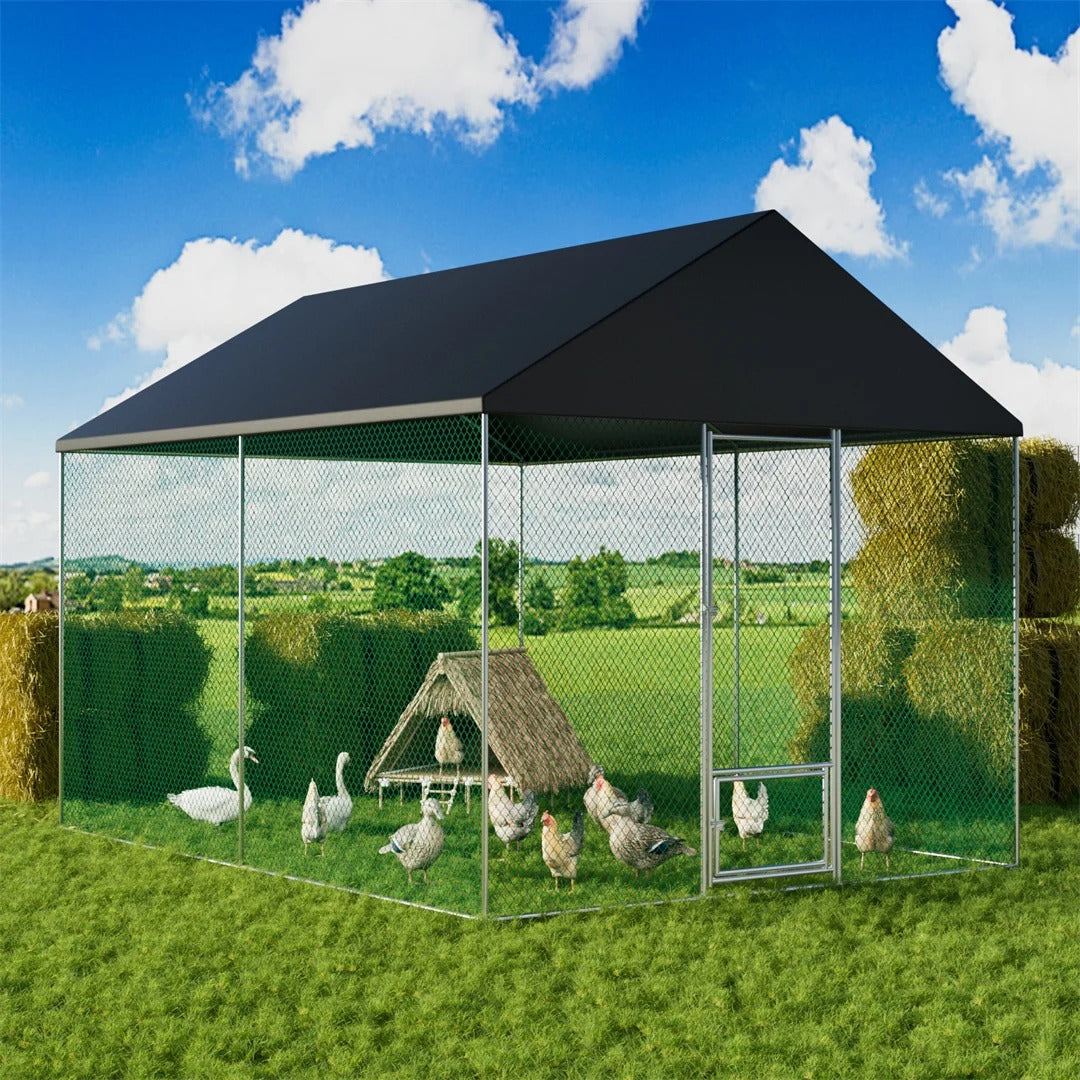
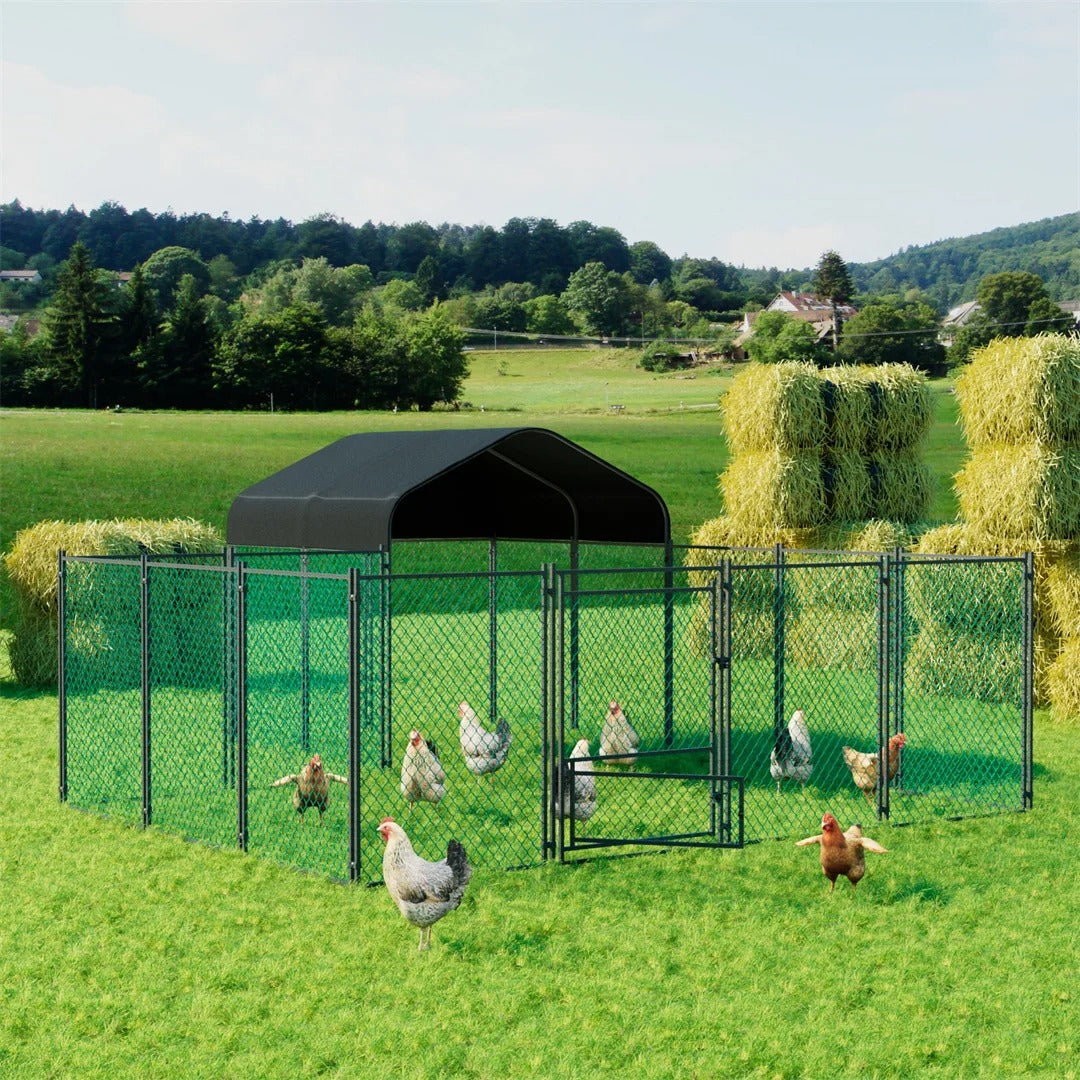
Assess the run. If your run is exposed to the elements, think about whether it needs additional cover for winter. A waterproofed roof over at least part of the run keeps the ground drier, gives birds somewhere to stand during heavy rain, and reduces the amount of mud tracked back into the coop.
Step 2 - Address Ventilation Without Creating Draughts
This is the part of winterising that confuses the most people, and it is important to get right.
Ventilation must remain open throughout winter. Chickens produce significant amounts of moisture through respiration and droppings, and without adequate airflow, that moisture builds up inside the coop as condensation. It soaks into bedding, promotes ammonia production, and creates the damp conditions that lead to respiratory illness, frostbite on combs, and red mite outbreaks.
The key distinction is between ventilation and draughts. Ventilation openings positioned near the roofline or high on the walls allow moisture-laden air to escape without creating cold airflow at the level where birds roost. Draughts are gaps at bird height that blow cold air directly onto roosting hens. Close the draughts; keep the ventilation open.
In practice, this means checking that your upper vents are clear and functioning, and walking the interior of the coop at bird level (crouch down) to feel for any cold air movement that would affect roosting birds overnight.
Step 3 - Deepen the Bedding Using the Deep Litter Method
The deep litter method is a practical and effective approach to winter coop management that many UK keepers use. Instead of removing all floor bedding every week, you add fresh material on top of the existing layer, allowing the lower layers to compost gently in place. The composting process generates a small amount of warmth from below, which contributes to keeping the coop floor temperature slightly higher overnight.
To use this method, start autumn with a clean coop floor and a layer of fresh bedding around 10-15cm deep - wood shavings work well as a base material. Each week, rather than stripping the floor, add a fresh layer on top and turn the existing material with a fork. The composting process requires the material to stay slightly moist (which happens naturally from droppings) but not wet. If it becomes wet and matted, that indicates a ventilation or moisture problem that needs addressing separately.
By the end of winter, you will have a thick, partially composted layer that makes excellent garden compost once removed in spring. The full strip-and-deep-clean then takes place as part of the seasonal coop maintenance routine.
If you want a detailed breakdown of the coop contents and equipment that make winter management easier, our guide on what should be inside a well-equipped chicken coop covers the essentials thoroughly.
Step 4 - Manage Water Every Single Day
Water management is one of the most labour-intensive aspects of keeping chickens in UK winters, and it is easy to underestimate how quickly drinkers freeze when overnight temperatures drop below zero.
Chickens need constant access to fresh, unfrozen water. Without it, they stop eating, egg production drops sharply, and their health declines. There is no way to avoid daily water checks in cold weather - it simply has to become part of the morning routine.
Practical measures that help include using thicker-walled or insulated drinkers, positioning drinkers in a sheltered location away from north-facing walls and exposed areas, and using multiple drinkers so that birds have access even if one freezes before you can get out to deal with it.
Some keepers use electric drinker heaters designed specifically for poultry, which sit beneath the drinker and maintain a temperature just above freezing. These are a worthwhile investment for anyone keeping chickens in an area that regularly experiences hard frosts. If you use one, make sure any cabling is properly protected from pecking and positioned safely away from bedding.
Step 5 - Adjust Feeding for Winter Conditions
Chickens use more energy in winter simply to maintain their body temperature, which means their nutritional requirements shift slightly. Ensuring birds have adequate feed available throughout the day is more important in winter than in warmer months.
A good quality layers pellet provides the core nutrition, but many keepers supplement this in winter with whole grain (typically wheat or mixed corn) given in the late afternoon. Grain takes longer to digest than pellets, and the digestive process generates gentle warmth that helps birds through cold nights. However, grain alone is not nutritionally complete, so it should be used as a supplement rather than a replacement for layers feed.
Scratch and kitchen scraps can also help keep birds occupied during the shorter winter days when they spend more time inside the coop, though the range of acceptable kitchen scraps for poultry is regulated under UK law and it is worth checking current guidance on what is and is not permitted.
Step 6 - Protect Combs and Wattles from Frostbite
Breeds with large single combs - particularly Leghorns and some utility breeds - are more susceptible to frostbite on the tips of the comb and wattles in freezing conditions. The telltale sign is blackened or darkened tissue at the tips of the comb.
Applying a thin layer of petroleum jelly (Vaseline) to combs and wattles before cold nights provides some protection and is a common practice among UK keepers during hard frost periods. It is not a substitute for managing coop moisture - frostbite in a damp coop is largely a function of humidity rather than air temperature - but it provides an additional layer of protection in genuinely freezing conditions.
Step 7 - Keep the Run Usable
Chickens are often reluctant to venture outside in heavy rain or snow, but regular access to the outdoor run is still valuable in winter for both physical and behavioural health. Keeping at least part of the run covered to prevent waterlogging, and laying down a substrate like wood chips or straw on the run floor, encourages birds to use the space even on damp days.
If the run becomes heavily muddy, it also becomes a hygiene risk - mud carries pathogens, creates wet conditions that are carried back into the coop, and can harbour parasites. Managing the run surface is part of the overall winter health picture, not just a comfort consideration.
For keepers whose current setup lacks adequate run coverage, it is worth considering a coop with an integrated covered run before next winter arrives. Our chicken coop range includes options built for year-round outdoor use in UK conditions. The outdoor extra tall chicken coop pen for UK gardens and allotments is a practical option for smaller flocks, while the large outdoor metal walk-in chicken coop with anti-UV covered run provides a more substantial covered structure for larger flocks or those wanting a walk-in run that stays usable in wet weather.
A Note on Egg Laying in Winter
It is worth setting realistic expectations: most hen breeds will reduce laying significantly or stop entirely during the winter months, particularly from November through to February. This is a natural response to reduced daylight hours, not an indication that anything is wrong with your birds or your management.
Hens require roughly 14-16 hours of light per day to maintain consistent laying. In the UK, daylight in midwinter falls well short of this. Some keepers use artificial lighting in the coop to extend the perceived day length and maintain production, though this is a decision worth considering carefully - continuous high production without natural seasonal rest can shorten a hen's productive laying life over time.
The reduction in laying during winter also means hens are directing more of their energy toward staying warm and maintaining body condition, which is another reason adequate feed access matters more during this period.
Winter is Also a Good Time to Check for Red Mites
Red mite populations slow down significantly in cold weather but do not disappear entirely. Winter is actually a good opportunity to inspect the coop carefully, treat any areas where mites are present, and apply preventive measures before the warmer months when mite activity accelerates. For detailed guidance on identification and treatment options, our guide on tackling red mites in a chicken coop is a useful resource.
Similarly, winter is when rats become more active as they seek shelter and food sources. A tightly managed coop with secure feed storage and no spilled grain sitting on the ground is far less attractive to rodents than a poorly managed one. For more on keeping rodents away from the coop, our guide on preventing rats around backyard chicken setups covers the subject in detail.
Final Thoughts
Winterising a chicken coop is mostly about preparation and consistency rather than any single dramatic intervention. A coop that is dry, draught-free at bird level, well-ventilated above bird level, and stocked with deep bedding and fresh water will see most UK flocks through winter in good condition. The birds are more resilient than many new keepers expect - the job is mainly to set up the right environment and then manage it consistently through the colder months.
If you have questions about coop setup, winter management, or which products would suit your flock and garden, the Paw Comfort team is happy to help. Get in touch with us here and we will give you straightforward, practical guidance.
Final Verdict
Winterise a chicken coop by keeping it dry, blocking leaks, maintaining high-level ventilation, preventing frozen water and adding clean dry litter—not by sealing every opening. Healthy hens generally cope better with cold than with damp, ammonia and condensation; use heat only with veterinary or specialist advice and fire-safe equipment.
FAQ
Do Chickens Actually Feel the Cold??
This is worth addressing upfront because it shapes every decision in this guide. Most common backyard breeds kept in the UK - including Rhode Island Reds, Sussex, Marans, Orpingtons, and Wyandottes - are genuinely cold-hardy. They have evolved to cope with low temperatures, and their feathers provide significant insulation.
What should you know about step 1 - carry out a thorough pre-winter inspection?
Before temperatures drop, walk around your coop and run with fresh eyes and look for anything that needs fixing.
What should you know about step 2 - address ventilation without creating draughts?
This is the part of winterising that confuses the most people, and it is important to get right.
What should you know about step 3 - deepen the bedding using the deep litter method?
The deep litter method is a practical and effective approach to winter coop management that many UK keepers use. Instead of removing all floor bedding every week, you add fresh material on top of the existing layer, allowing the lower layers to compost gently in place. The composting process generates a small amount of warmth from below, which contributes…
What should you know about step 4 - manage water every single day?
Water management is one of the most labour-intensive aspects of keeping chickens in UK winters, and it is easy to underestimate how quickly drinkers freeze when overnight temperatures drop below zero.
What should you know about step 5 - adjust feeding for winter conditions?
Chickens use more energy in winter simply to maintain their body temperature, which means their nutritional requirements shift slightly. Ensuring birds have adequate feed available throughout the day is more important in winter than in warmer months.